Start with a measured sketch
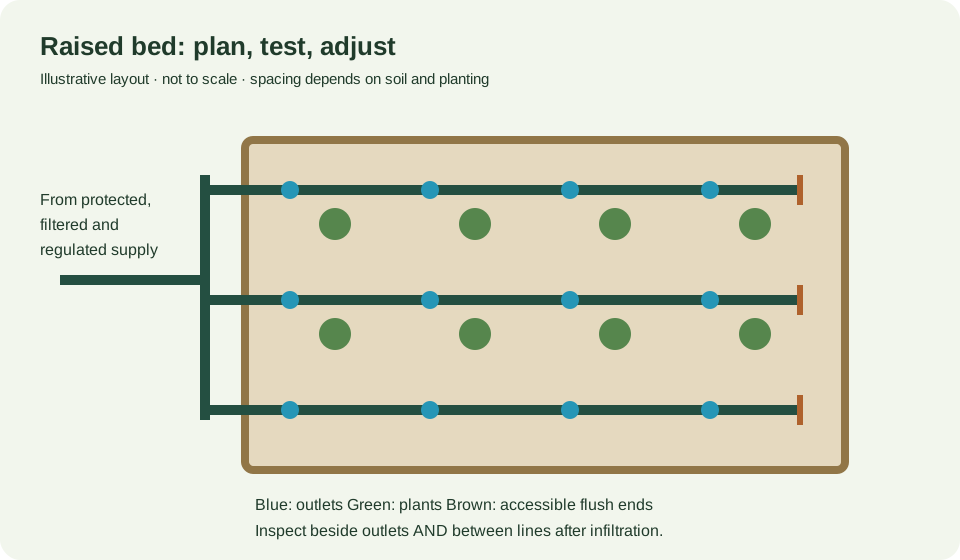
Draw the inside dimensions of the bed, the planted rows, the water source and the path for the supply tube. For example, a bed 1.2 × 2.4 m is approximately 4 × 8 ft; those rounded sizes are a layout example, not a prescribed bed size. Mark containers and thirsty or fast-drying areas that may need a separate zone.
Use a supply line along an accessible edge, then connect parallel laterals beside the planted rows. Leave each far end accessible for flushing. A simple plan is: water source → required backflow protection → compatible filter and pressure regulation → supply tube → laterals → removable end closures. Follow the component instructions and local water-supply requirements. University of Minnesota describes filtration, pressure control and distribution choices for drip systems. Irrigation setups
Decide line spacing with a wetting test
Neither a 1/4 in label nor a product photo tells you how far water will spread in your soil. Place a test lateral along a row and observe after irrigation has infiltrated. Inspect below the surface beside an emitter and halfway between laterals. A short trial in sandy fill may reveal narrow wetted columns; a fine-textured mix may spread water farther but infiltrate slowly.
Move laterals or add a line where rooted soil remains dry. Do not force every bed into one fixed spacing. Germinating seeds need moisture in their shallow seed zone; young transplants need water in the original root ball; established crops need a broader wetted root area. Check the layout again when you replant or rotate crops.
Size the zone by measured output
Count outlets and check their expected demand against the available supply and each component's rated operating range. Never assume a long roll can be used as one unrestricted lateral. Use the manufacturer's length and flow limits for the specific tube.
Run all laterals together and collect water at the start, middle and end. Convert cup volume to L/h; 1 US gph equals 3.78541 L/h. If 20 outlets each actually deliver 2 L/h (0.53 US gph), the zone uses approximately 40 L/h (10.57 US gph). That example estimates total discharge, not the crop's requirement. Follow the runtime calculation and compare soil moisture before choosing the next cycle.
Keep unlike conditions separate
A pot beside a bed may need a different interval even if the plants are the same age. Put it on another valve or timer zone where practical. During hot, windy spells, inspect exposed edges and containers more often. After rain, check beneath mulch and crop covers before reducing irrigation. Do not assume a roofed bed received rain because the surrounding path is wet.
Commission and maintain
Flush tubing before closing the ends. Leak-check every connection while the whole zone runs. Measure a few outlets, mark their positions on your sketch, and repeat the same measurement after maintenance or expansion. If the far end weakens, reduce the test zone and inspect restrictions before turning up source pressure.
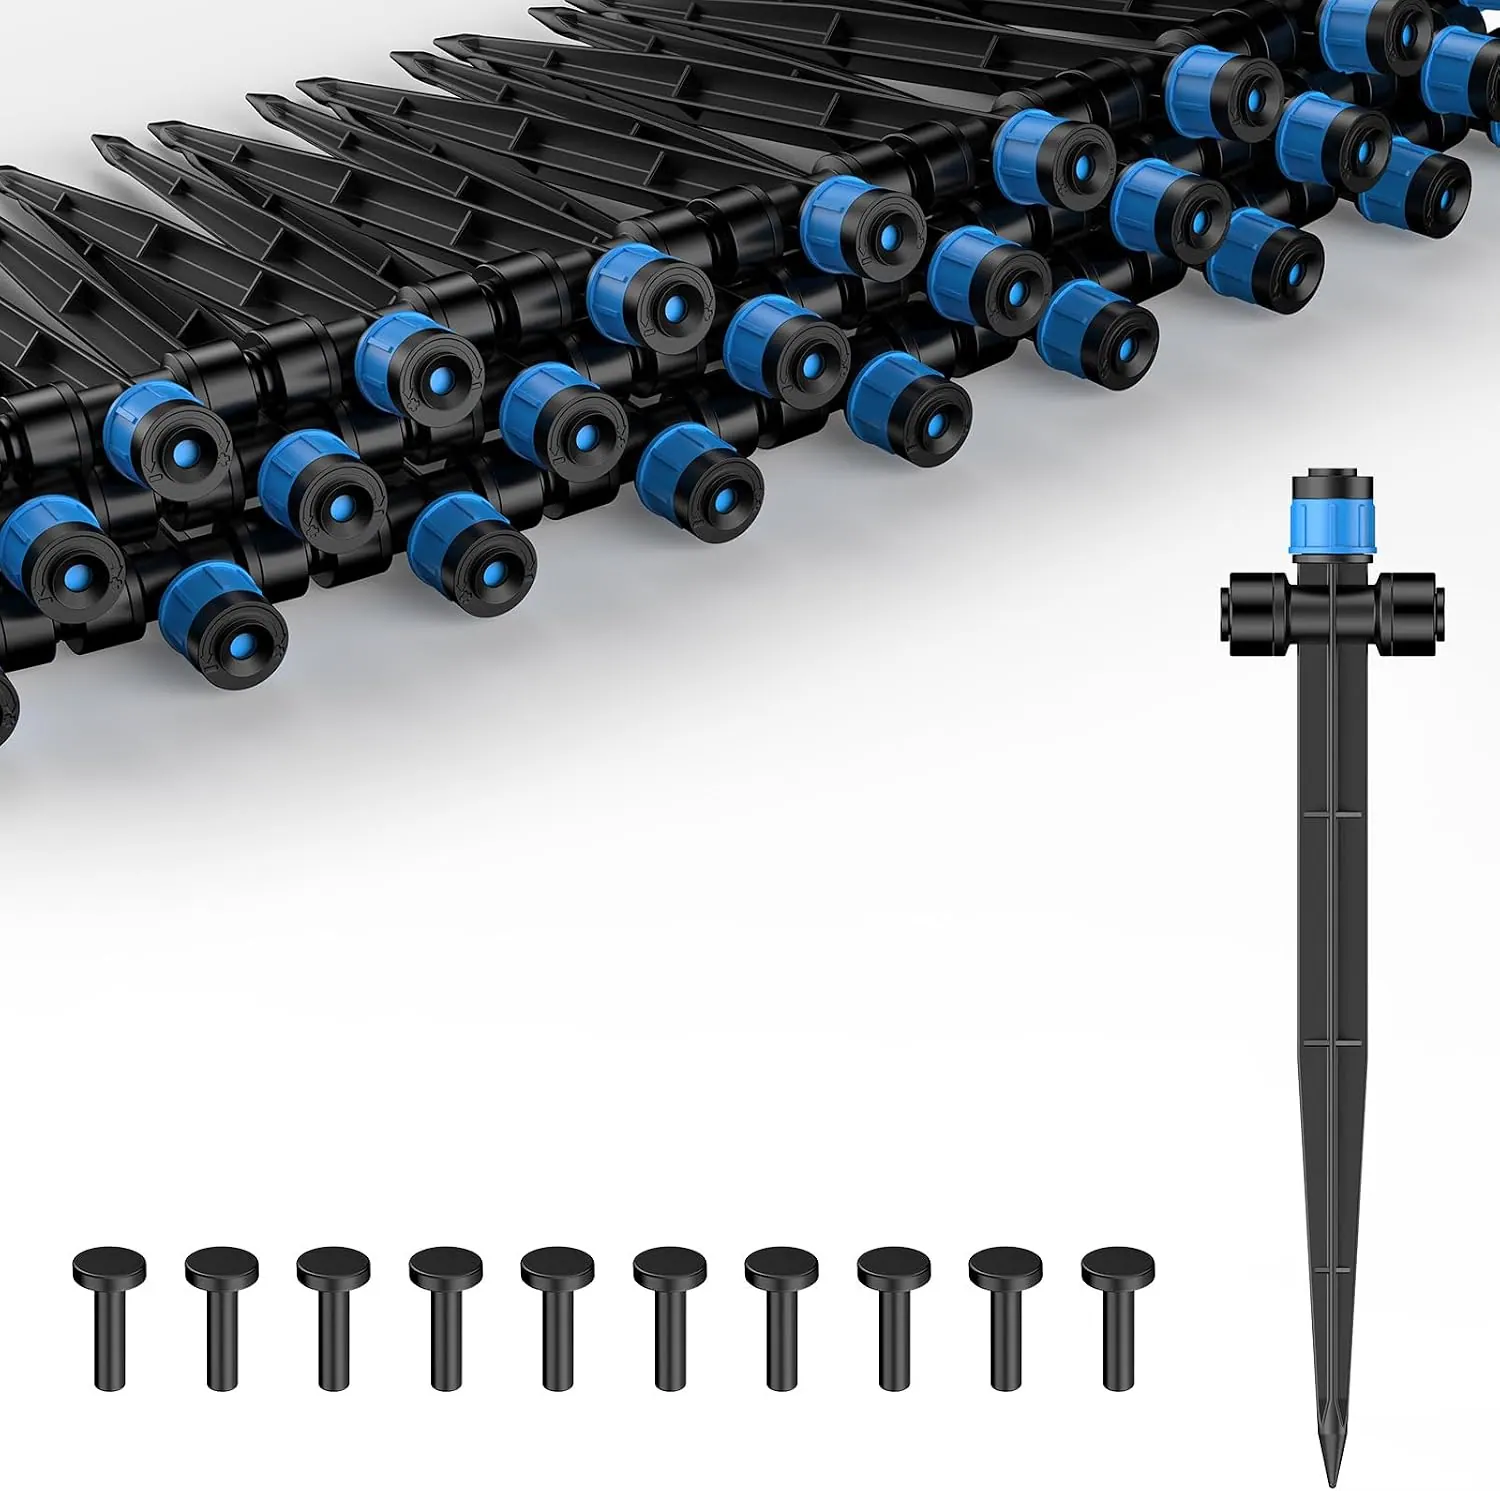
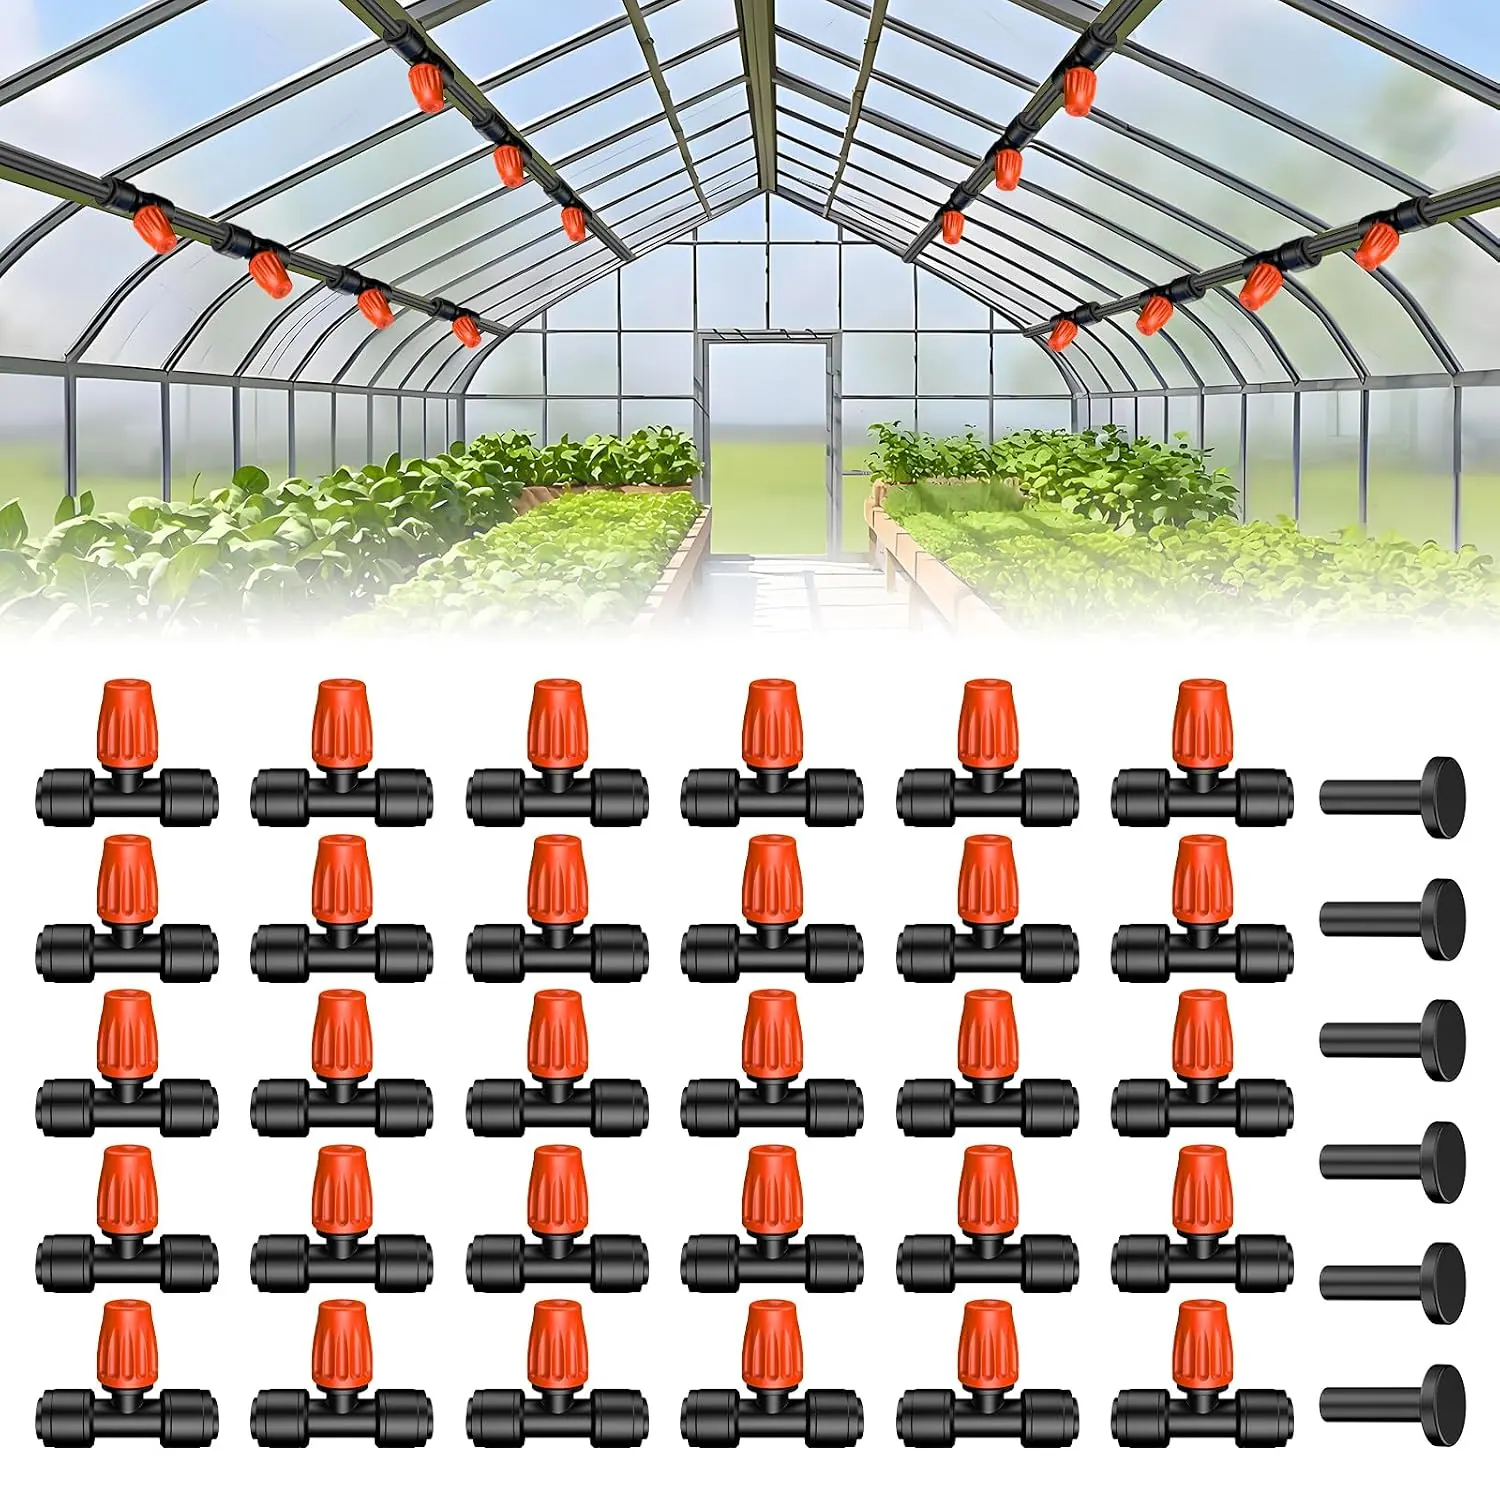
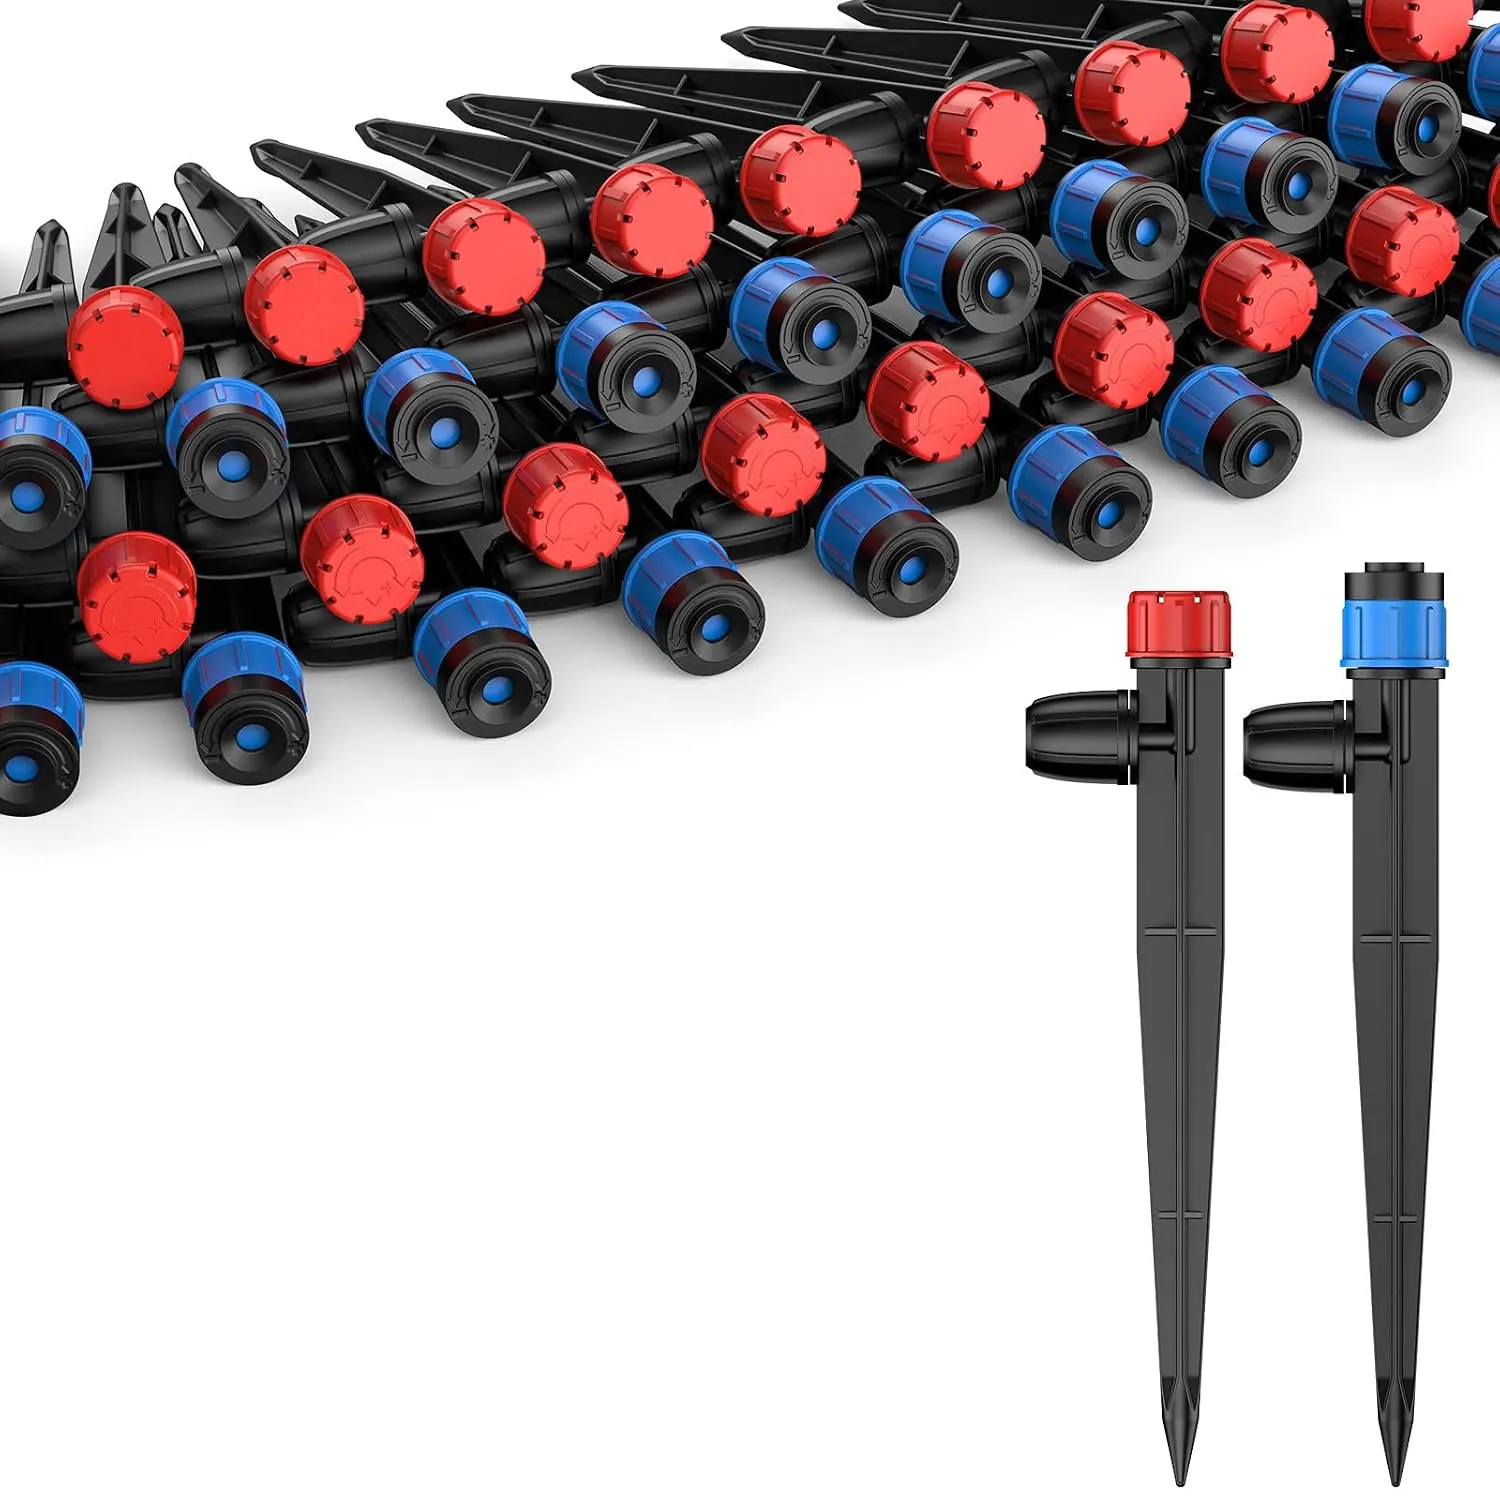
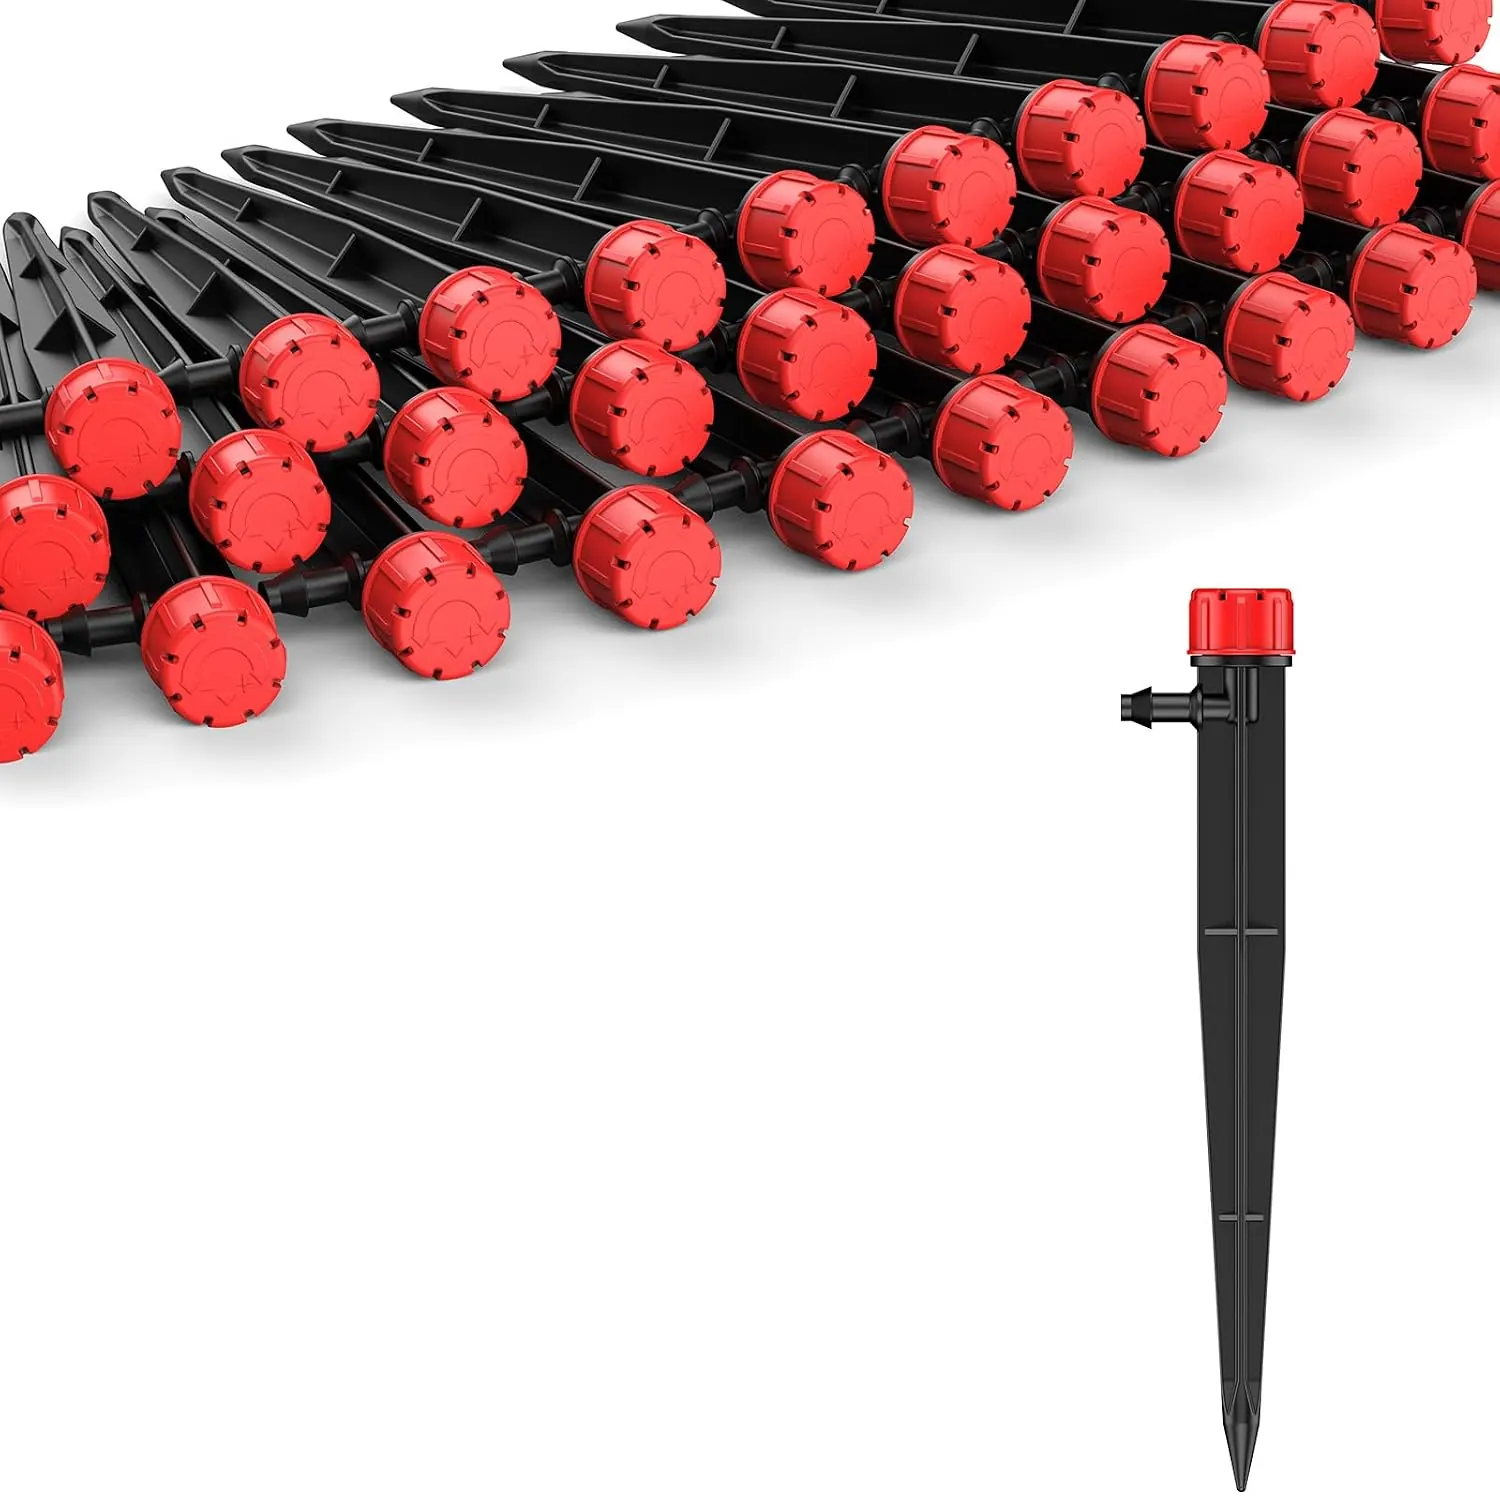
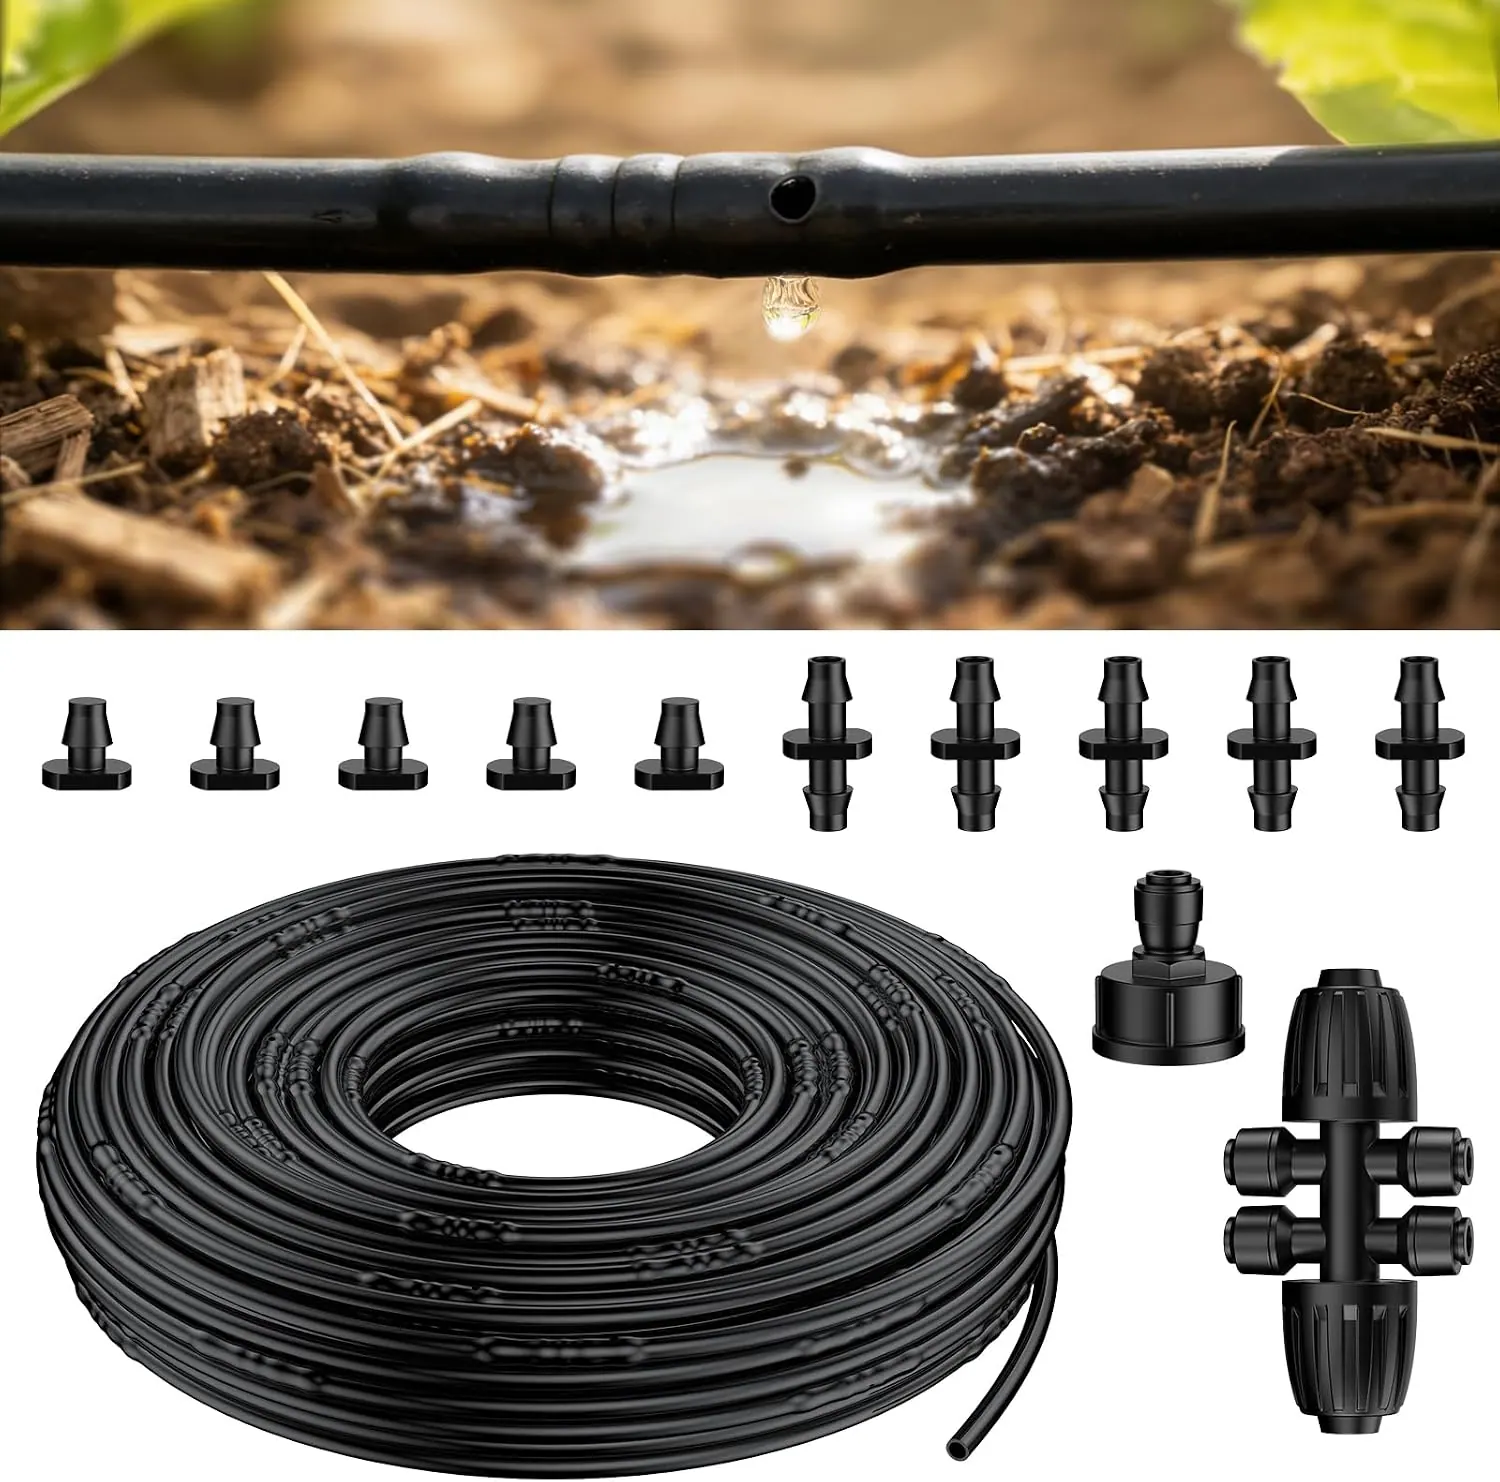
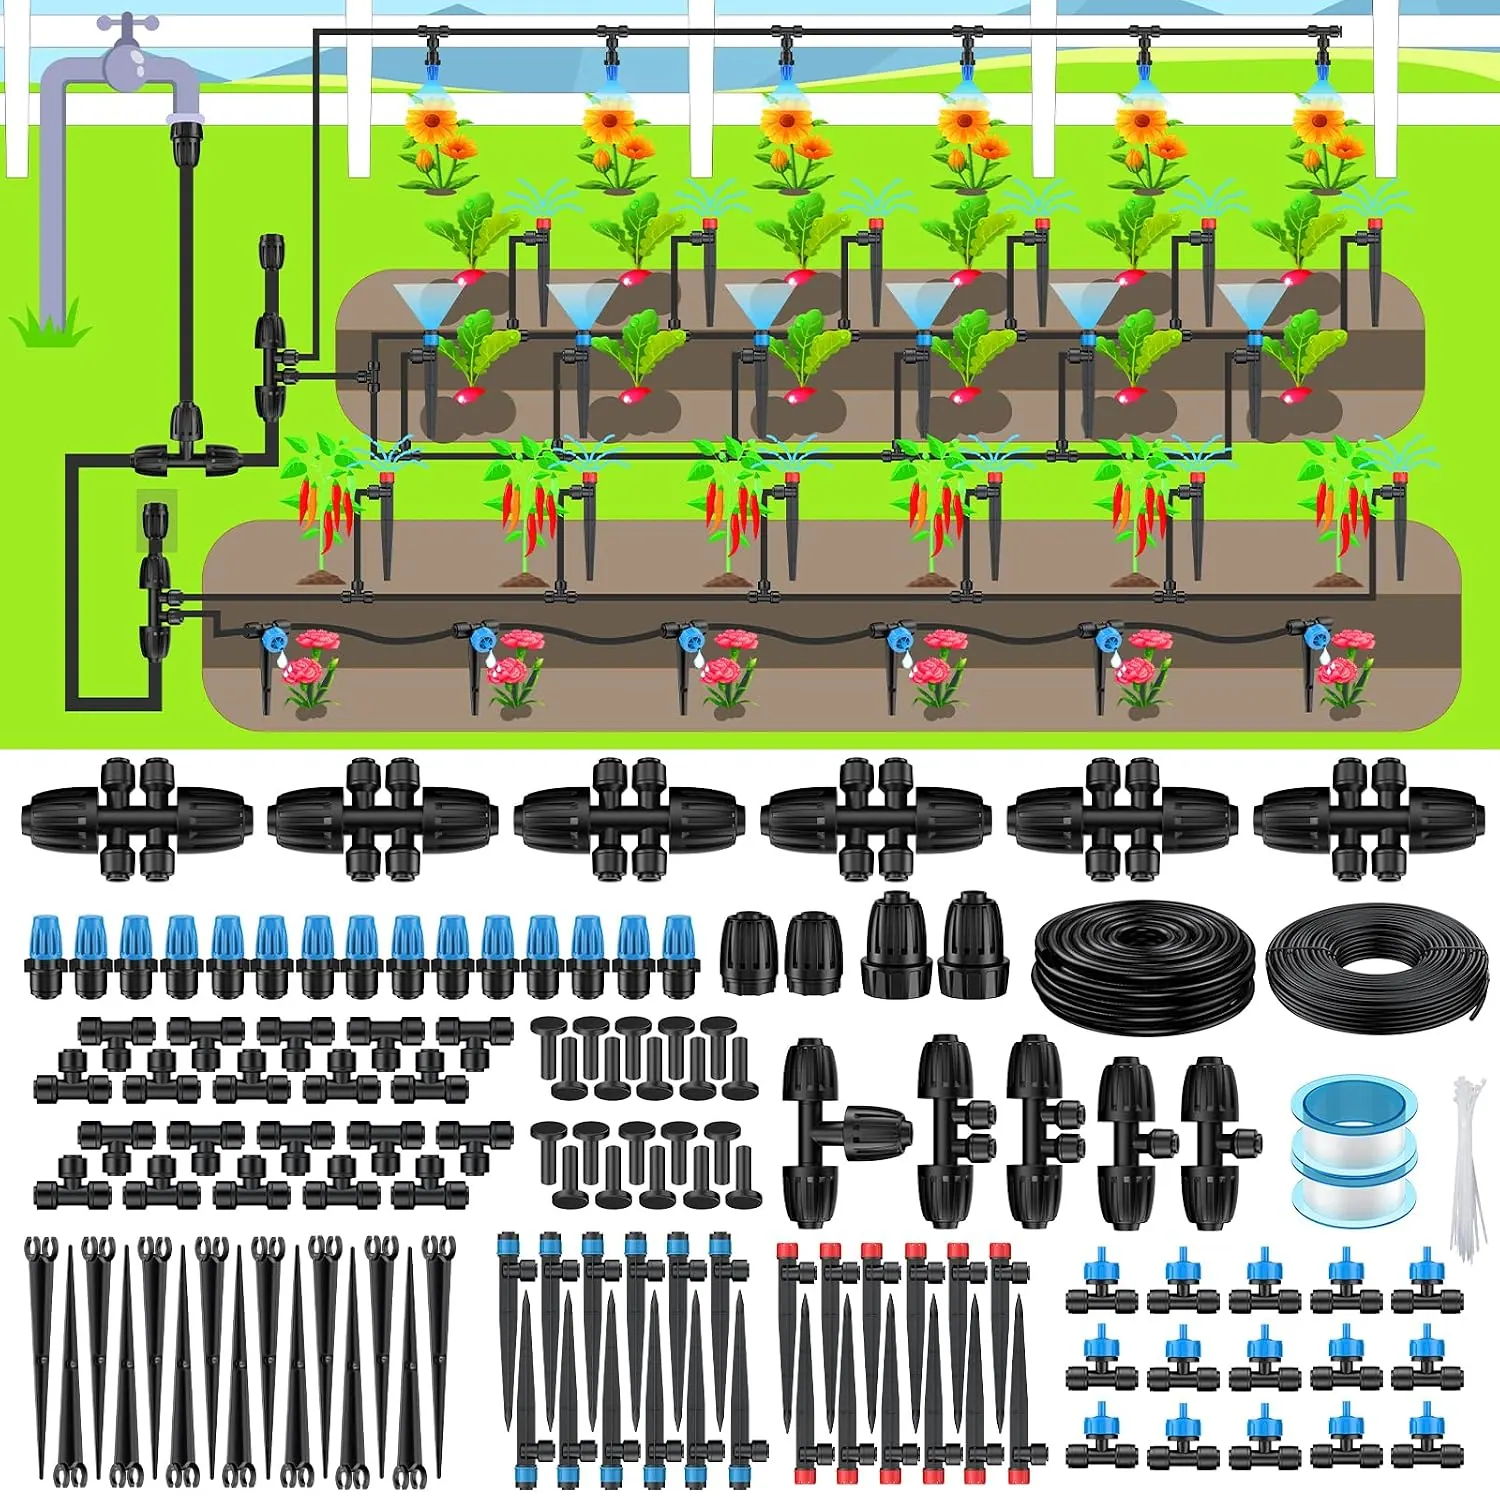
Consider the Pawfly irrigation kit, listed with 50 ft (15.24 m) of 1/2 in tube and 200 ft (60.96 m) of 1/4 in tube. Those are supplied lengths, not recommended single-run limits. Browse kits, verify fitting dimensions, and use the fault-finding sequence if output is uneven.