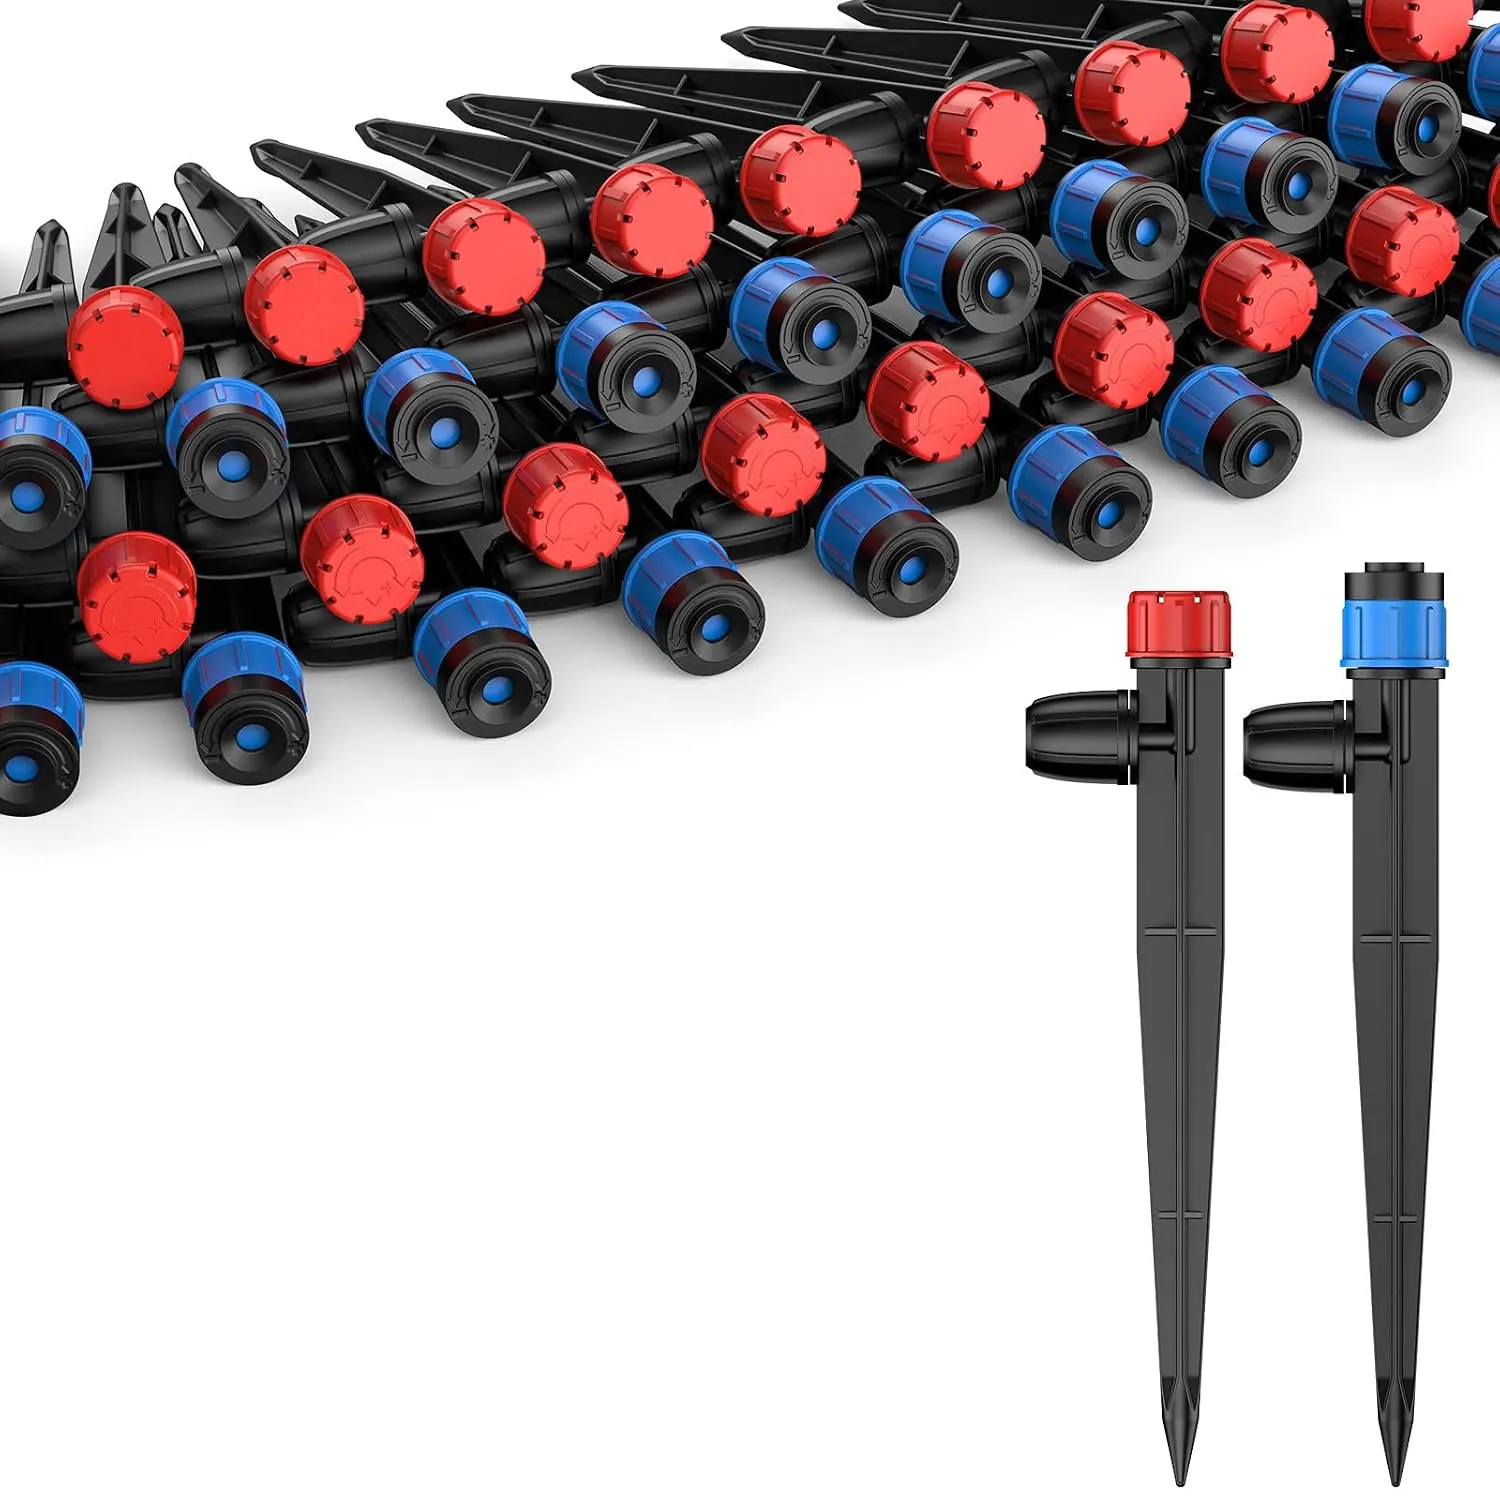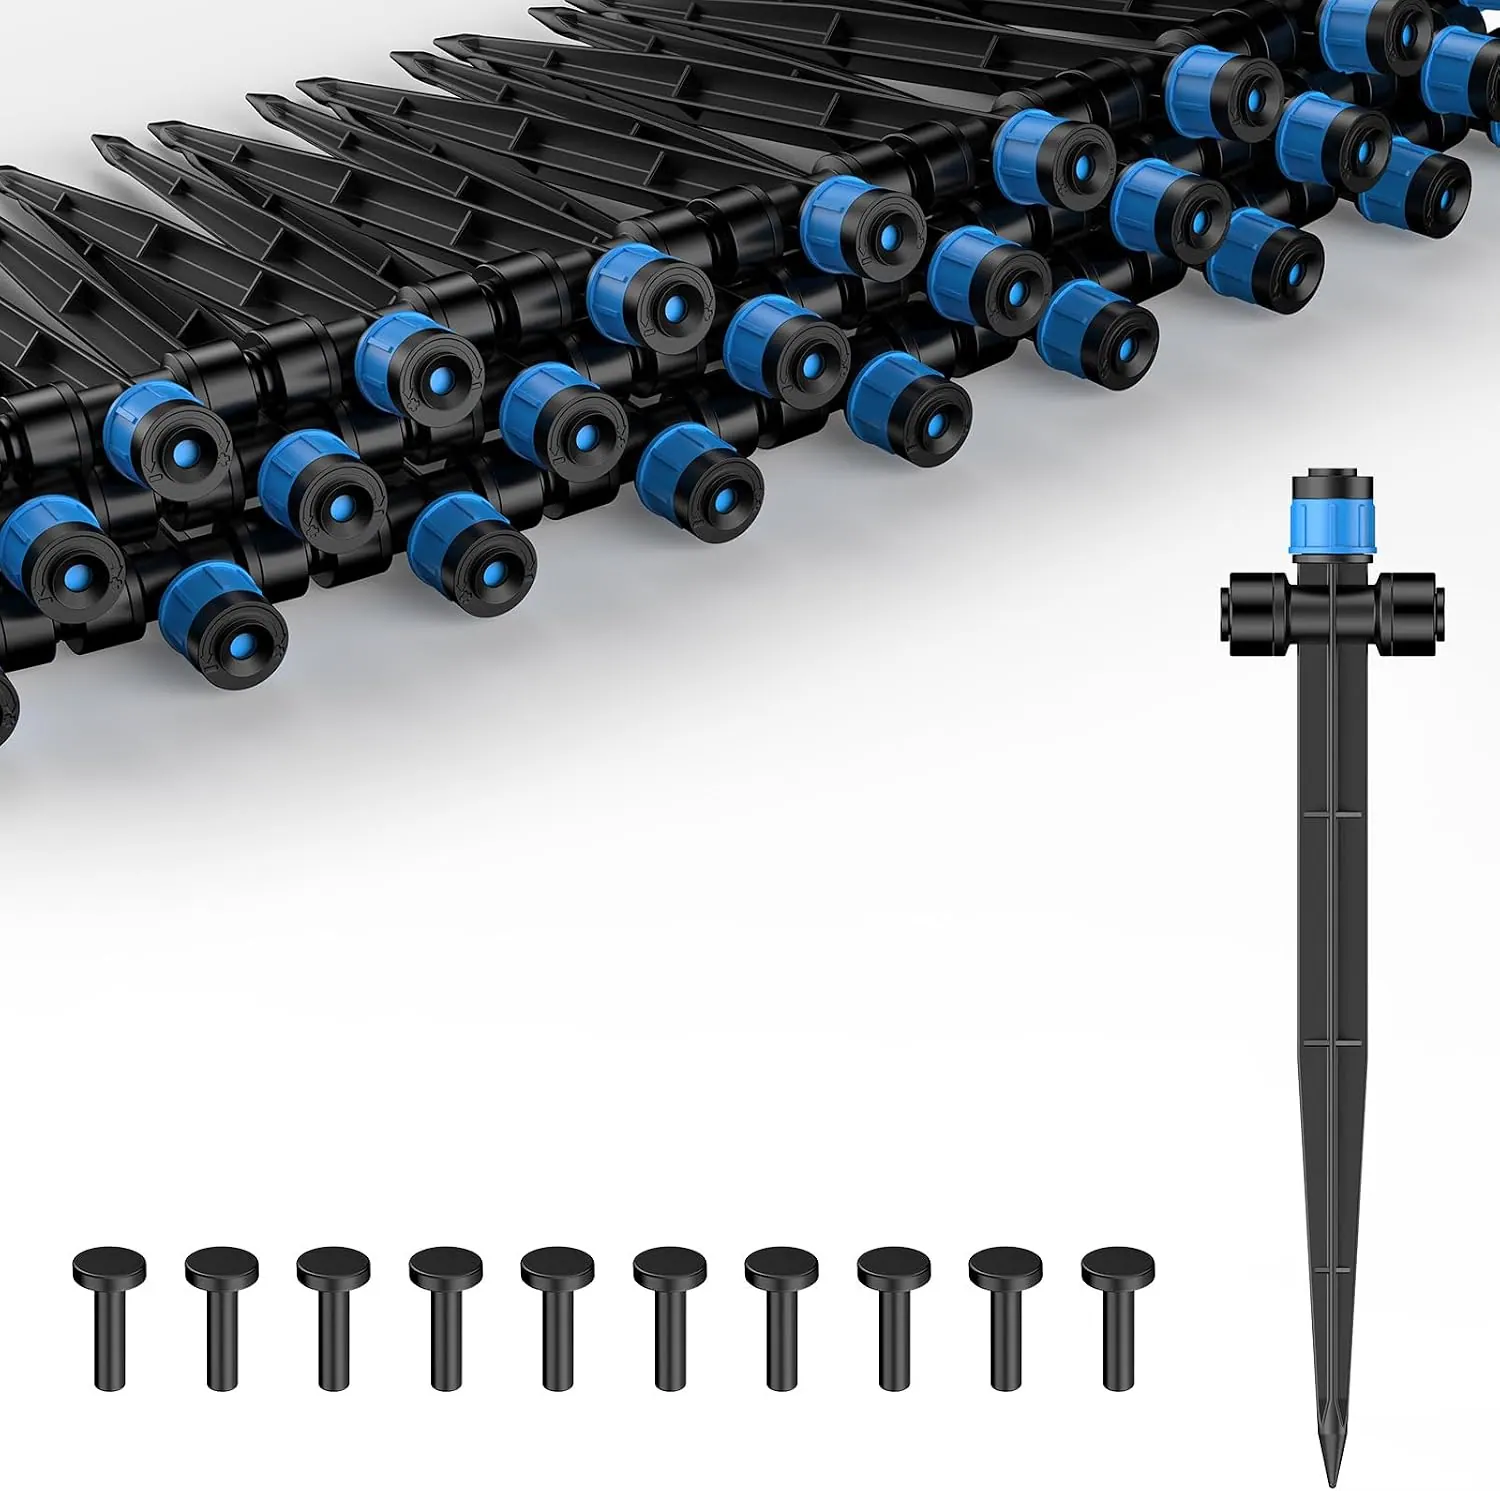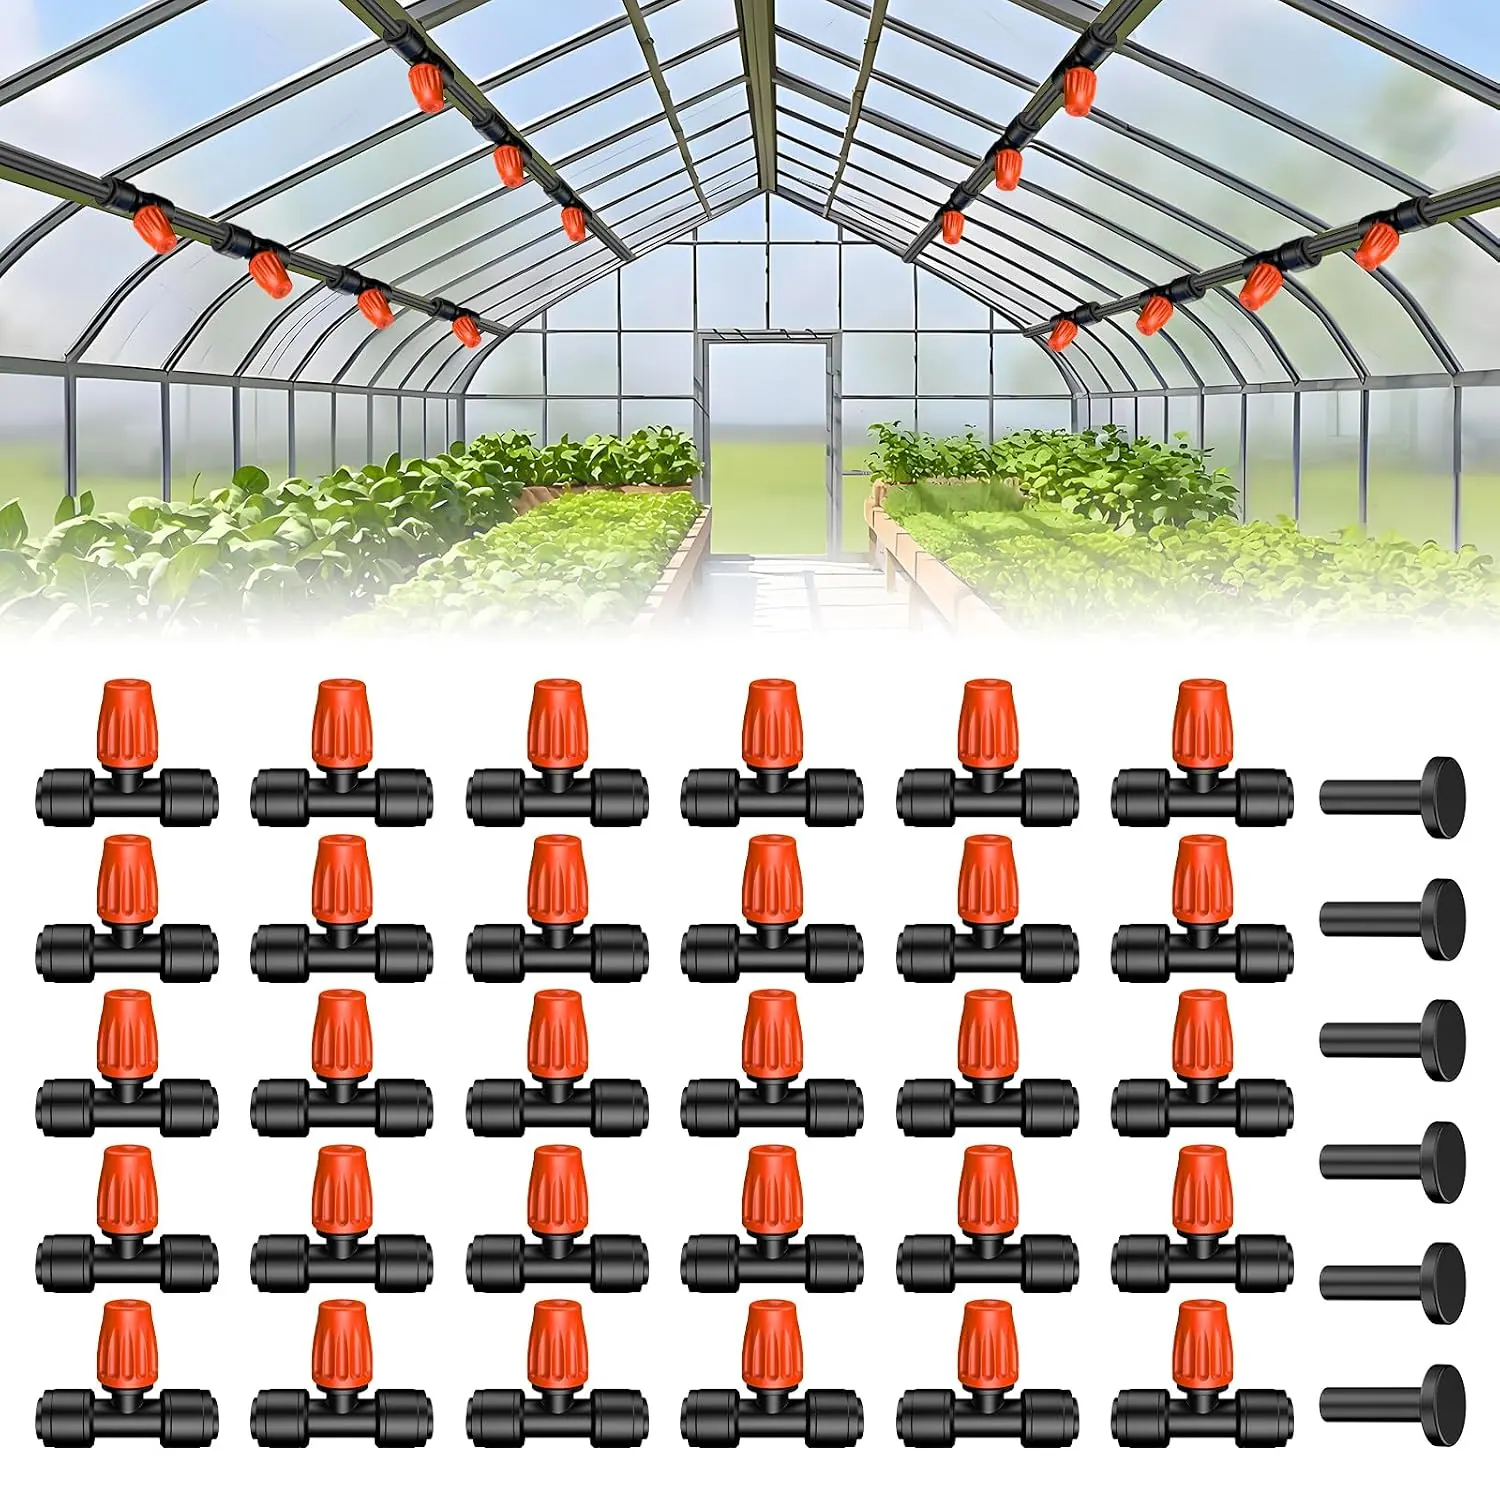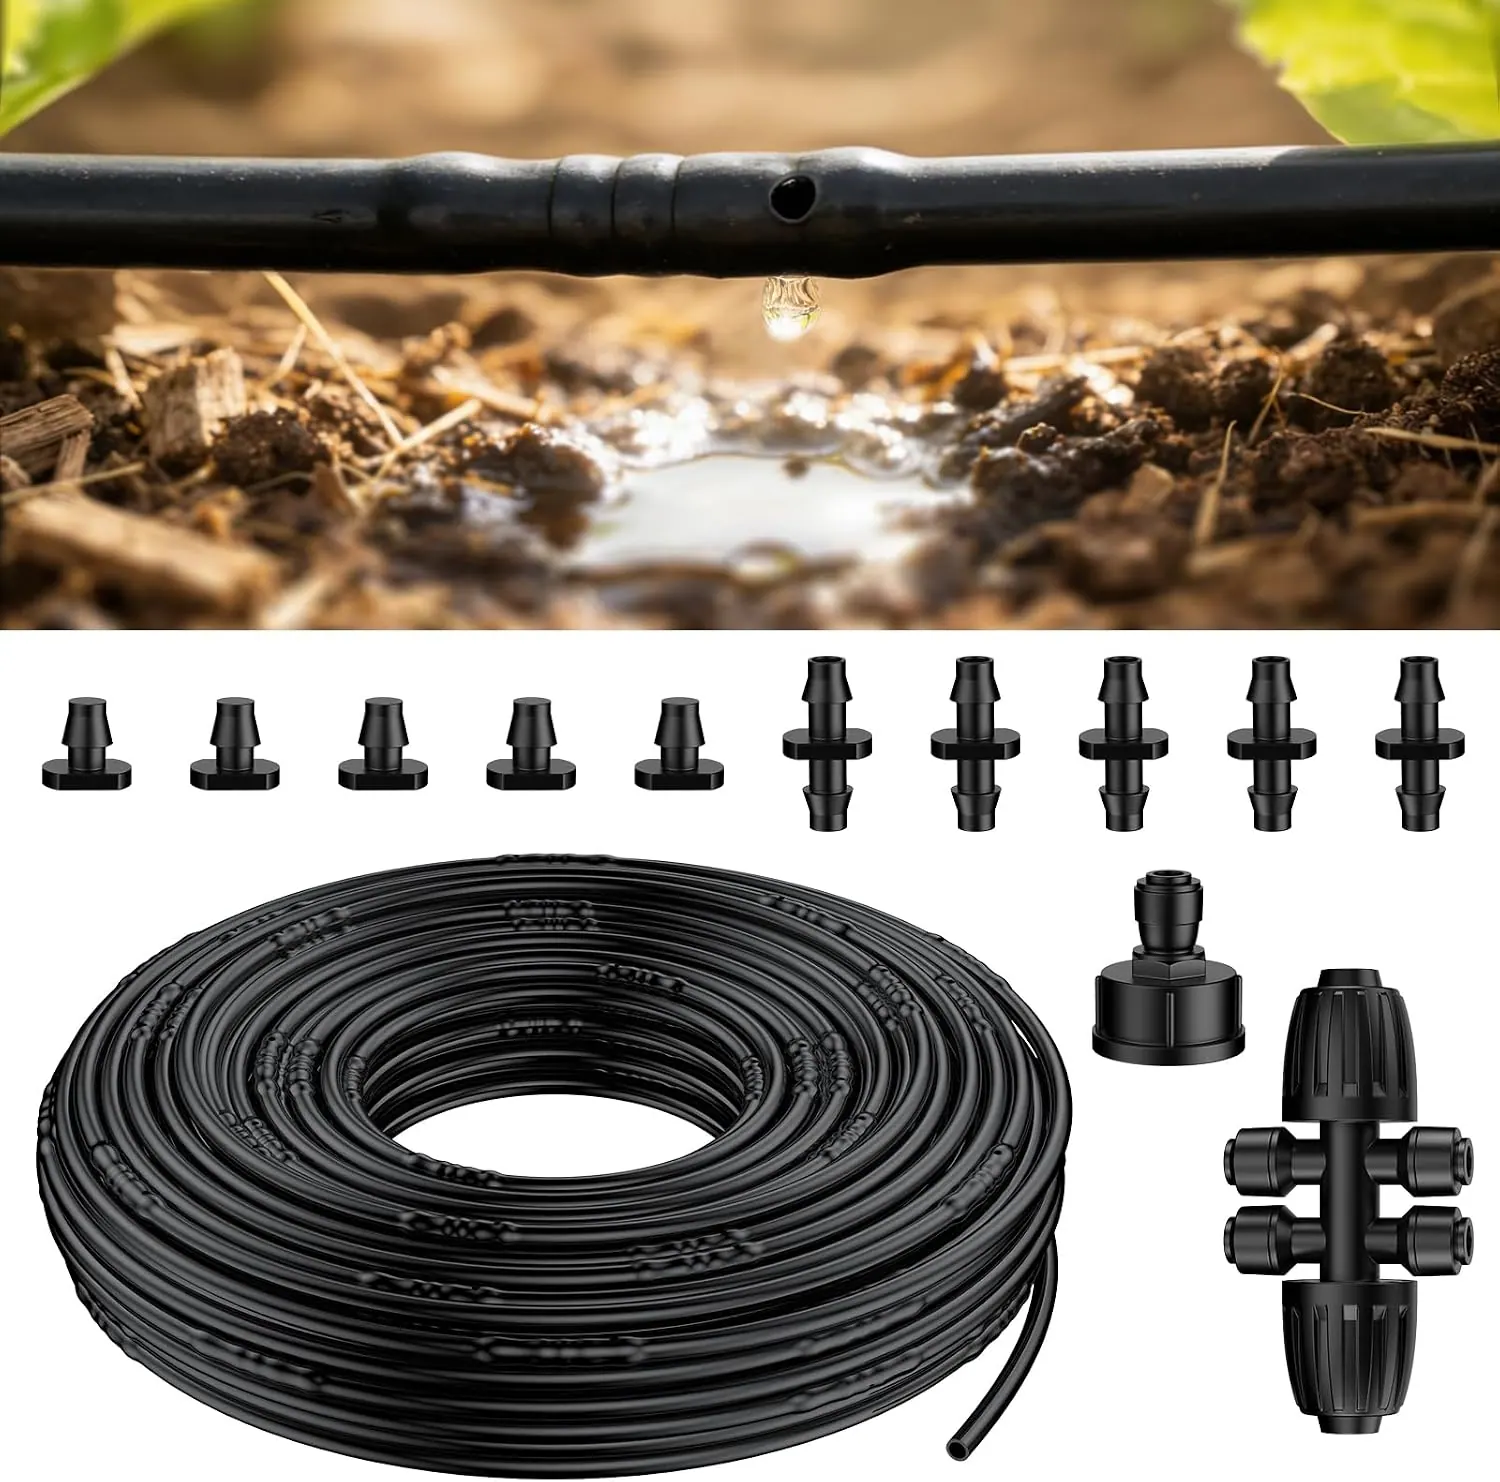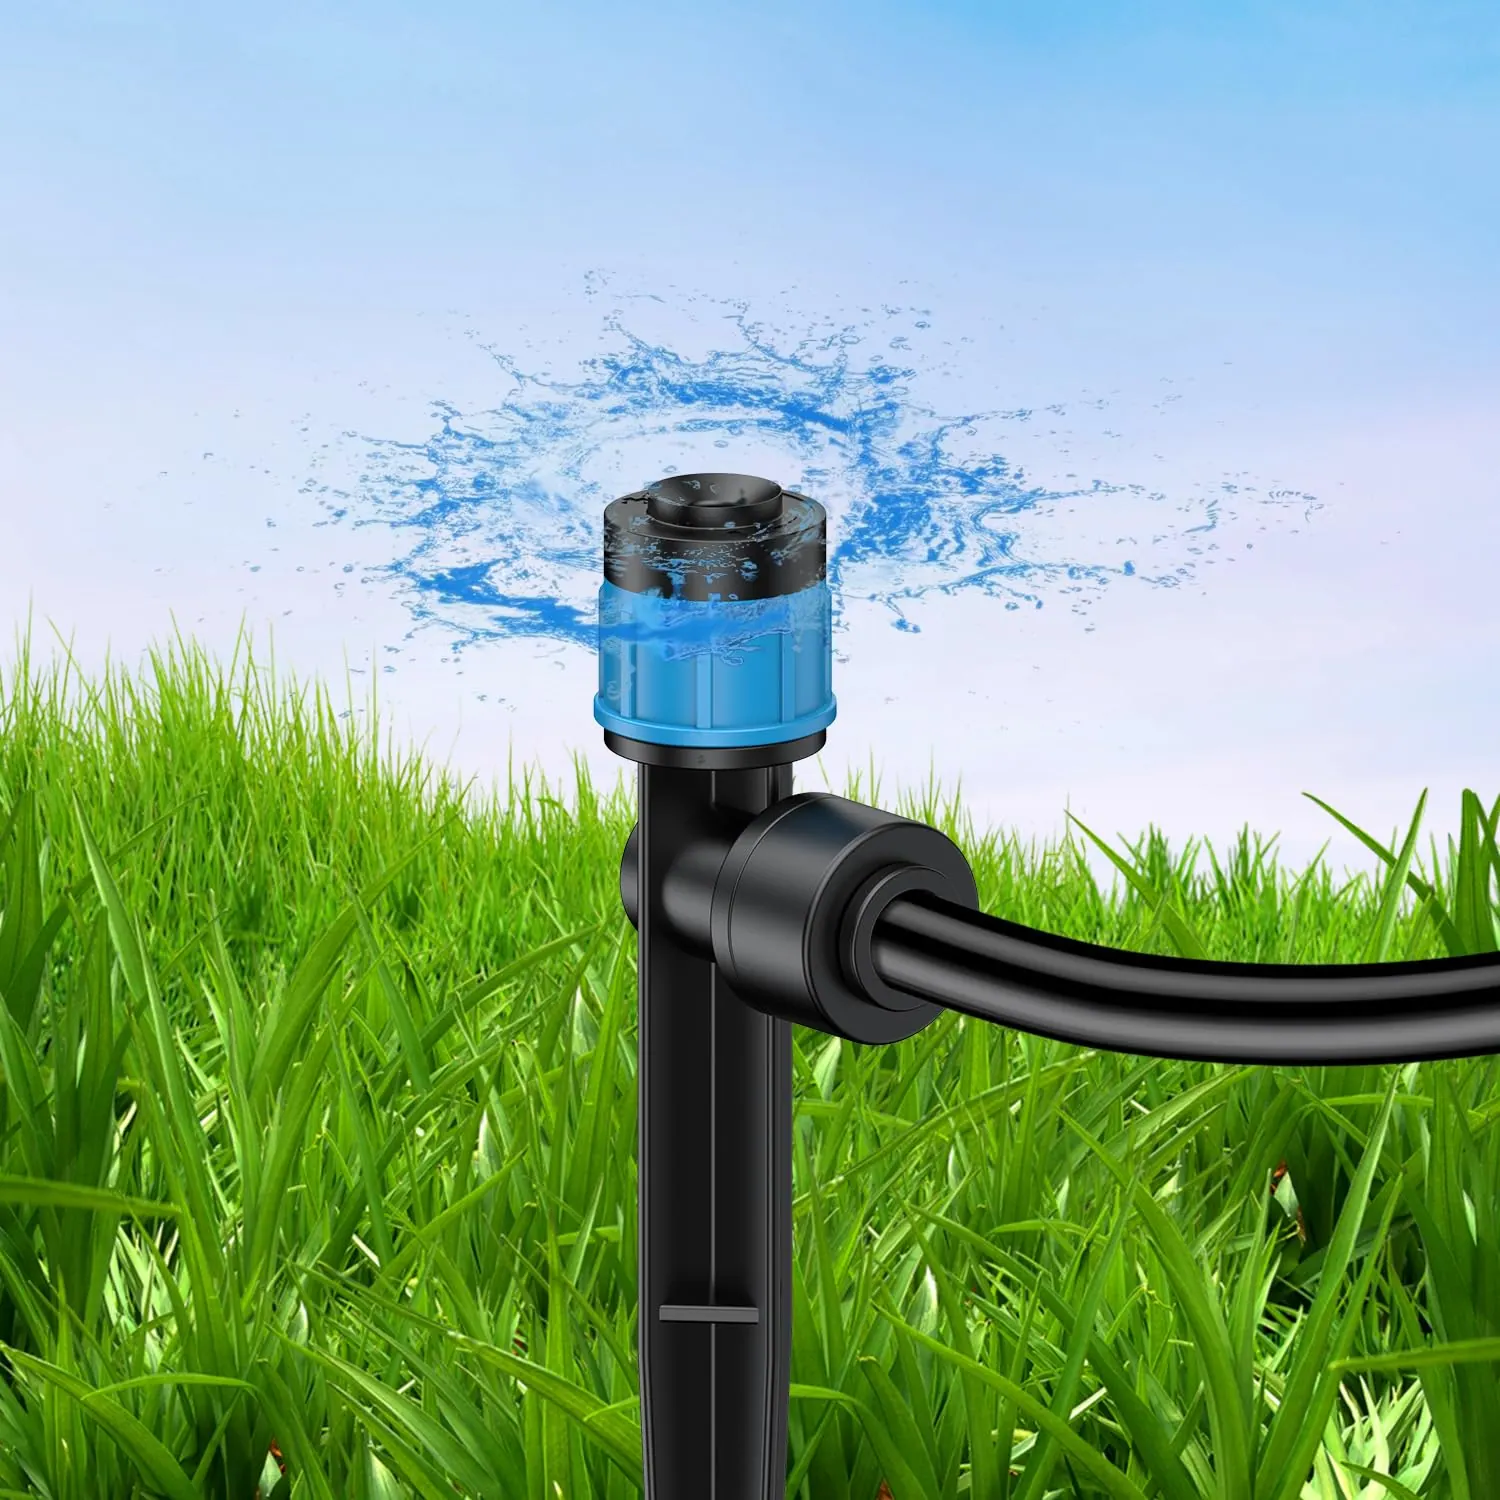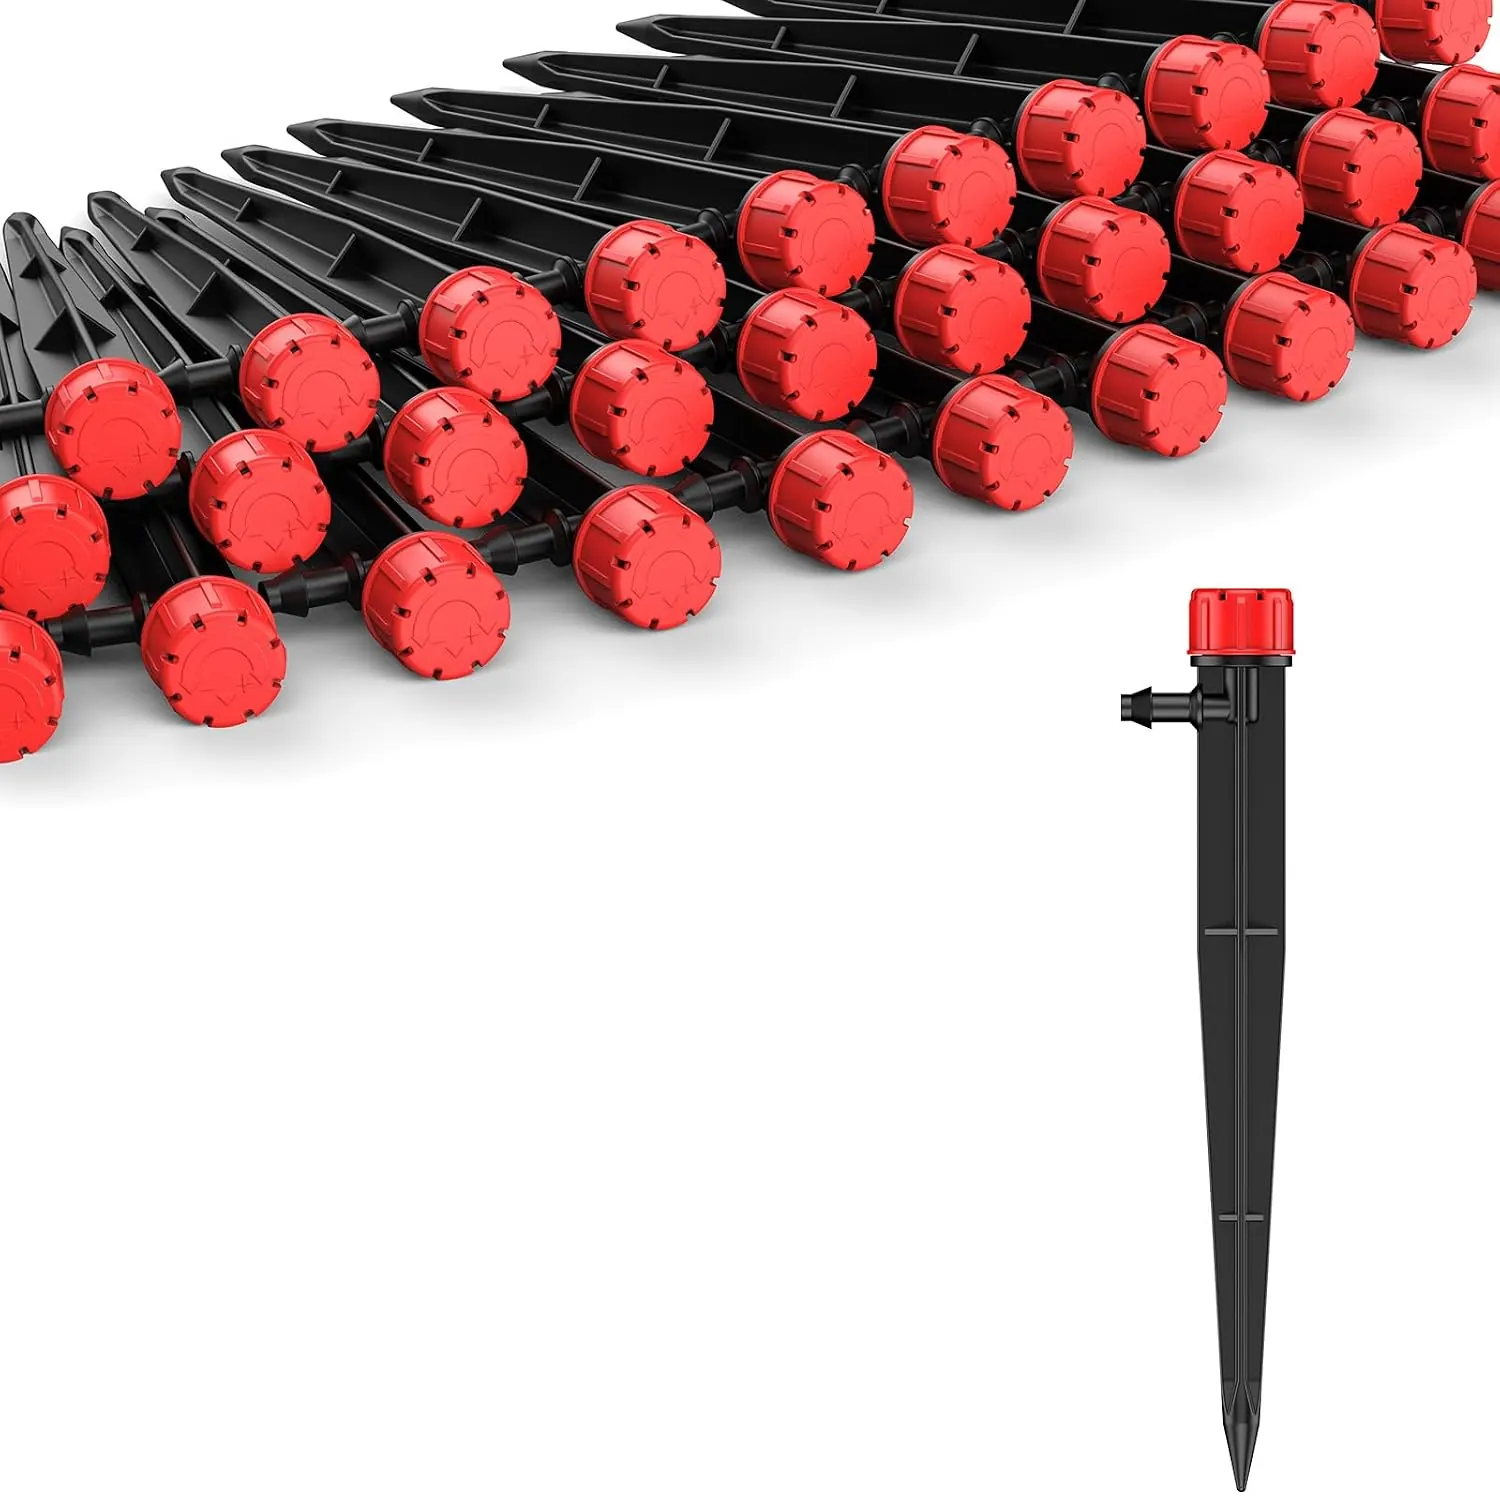
The timer needs two inputs
Runtime depends on the amount of water you decide to apply and the water your installed system actually delivers. A dial position, advertised maximum flow or someone else's daily schedule cannot supply both values. This method suits a small garden zone or individual containers; it is not a regional crop-water prescription.
Choose an initial trial volume using root-zone observations and local crop guidance, then check the result. Establishing seedlings, mature fruiting plants, sandy beds and small pots do not share one requirement. Soil type, rainfall and crop stage belong in the record. University of Minnesota irrigation strategies
Measure the installed emitters
- Run the complete zone at its normal setting until flow settles. Keep adjustable heads in the positions you intend to use.
- Select outlets near the source, in the middle and at the far end. Include high and low points where relevant.
- Catch each outlet in a separate marked container for five minutes, or longer for very slow drippers. Use equal collection times and record actual volume.
- Calculate each output. L/h = collected mL × 60 ÷ collection minutes ÷ 1,000. For litres collected, omit the final division by 1,000.
- Compare the results. Investigate weak outlets before averaging them into a timer setting.
A collection of 200 mL in five minutes gives 2.4 L/h. Divide by 3.78541 to obtain about 0.63 US gph. One US gallon is about 3.78541 L; one imperial gallon is about 4.54609 L. Do not use the latter conversion for a product labelled US gph.
Work a transparent example
Suppose two outlets serving one plant each measure 2.4 L/h. Their combined output is 4.8 L/h (1.27 US gph). If you select a 1.2 L (0.32 US gal) trial volume, the runtime is:
minutes = target litres ÷ combined L/h × 60 = 1.2 ÷ 4.8 × 60 = 15 minutes.
All numbers here are illustrative, not measurements of a Pawfly product or recommended doses for a crop. Do not multiply by the number of plants twice: use per-plant volume with per-plant flow, or whole-zone volume with whole-zone flow.
For an area-based target, 1 mm across 1 m² is 1 L; 1 in across 1 ft² is about 0.623 US gal. These are volume conversions. They do not account for runoff, drainage below roots or rainfall that misses a covered bed.
Verify the roots before repeating
After infiltration, inspect soil beside and between outlets at several root-zone positions. Confirm that water reaches the roots without persistent pooling. Sandy soil may need a different interval; slow-infiltrating soil may need separated pulses. In containers, check several parts of the mix and drainage rather than interpreting immediate runoff as complete wetting.
Before the next cycle, record whether the root zone is still moist. Skip or adjust after useful rainfall and recheck during hot or windy conditions. Re-measure after changing pressure, adding outlets or cleaning the system. Check placement again as roots expand through establishment, flowering and fruit growth.
Keep a useful record
Record date, crop and stage, soil/container type, rainfall, outlet positions, collection time, volumes, combined flow, runtime and soil observations. For weak outlets use troubleshooting. Compare adjustable Pawfly emitters in the emitter category; their installed output must be measured at the chosen setting.